Table of Contents
Those who are concerned and sincere about their CPU should know how to remove the thermal paste from the CPU easily.
Thermal paste is not a crucial topic during the discussion about computer components and technology but it plays a significant role in the durability and performance of the CPU.
We all know that the CPU of the computer system produces heat during use. The heatsink is a part of the computer component attached to the CPU to reduce the heat of the processor, as a result, the CPU remains cool.
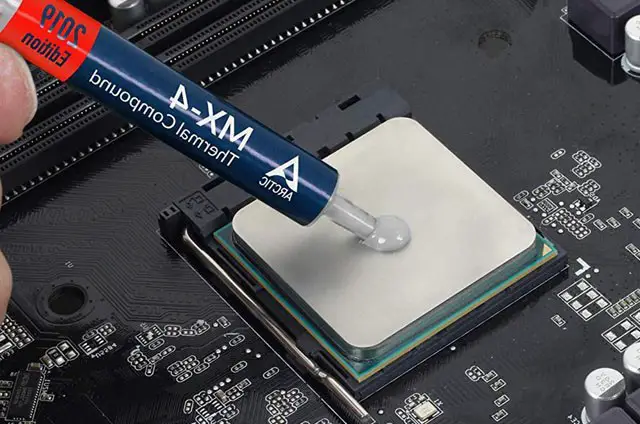
We apply thermal paste to attach the heatsink and CPU. Therefore, the heatsink can keep the CPU cool. Above all, it reduces the overheating of the processor.
Before applying thermal paste to the CPU, let’s see how to remove the thermal paste from the CPU easily.
What you will need to remove thermal paste?
- Microfiber cloth
- Cotton swab
- Alcohol mixed solution or alcohol (70% to 95% alcohol mixed)
- Blower machine (optional)
5 easy steps to remove the thermal paste from the CPU
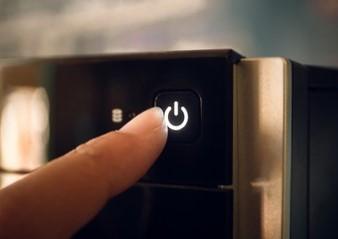
Step 1: Switch off the power and Remove all cords from the computer
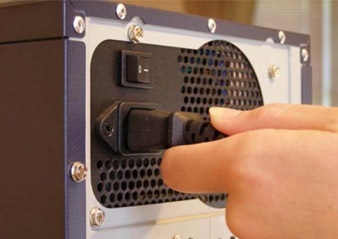
Firstly, you have to switch off your computer. That means to shut down the computer. Secondly, remove all cords and cables from your desktop case.
If you are using a laptop, then just unplug the power cable and remove the battery from it to remove the thermal paste from Laptop.
As a result, there will be no damage or harm to yourself and your computer. Press and hold the power button for 10 seconds for more safety, therefore, all kinds of electrical connectivity will be gone.
Step 2: Make the environment dust free and open the computer case or laptop
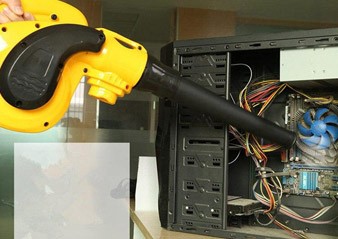
A dust-free environment is a must to work with the CPU of a computer or Laptop system. For instance, you can clean the gaming desk and floor of the room where you like to open the computer case or laptop.
After that, unhook all the screws of the desktop case or laptop and open it very carefully. A blower is a very useful machine to clean all dust inside the case of the computer without touching any component there.
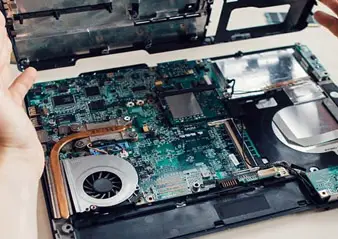
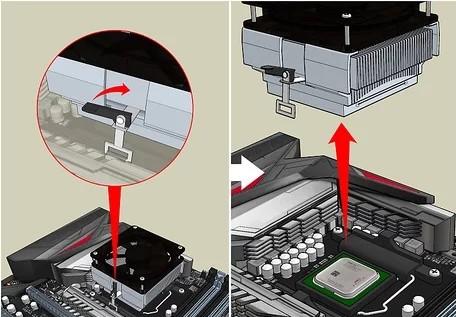
Step 3: Remove the Heatsink
Removing the heatsink is not so easy for everyone. At first, you have to twist the CPU cooler back and forth very slowly and gently.
In other words, twist the cooler clockwise then anticlockwise. Repeat it two or three times and then pull the heatsink from the CPU carefully.
Be aware of those CPU coolers which are non-brand or exceptional from the traditional cooler. Because those might have a different procedure of removing the heatsink.
Any kind of mistake can damage the pins and heatsink. Sometimes the old thermal attached the CPU so tight with the heatsink. Consequently, the CPU is also pulled off with the heatsink. As a result, a lot of damages can occur.
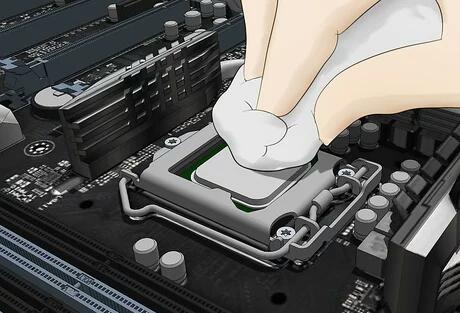
Step 4: Clean the CPU
You can remove the CPU also to clean it in detail or you can clean the CPU without removing it from the motherboard.
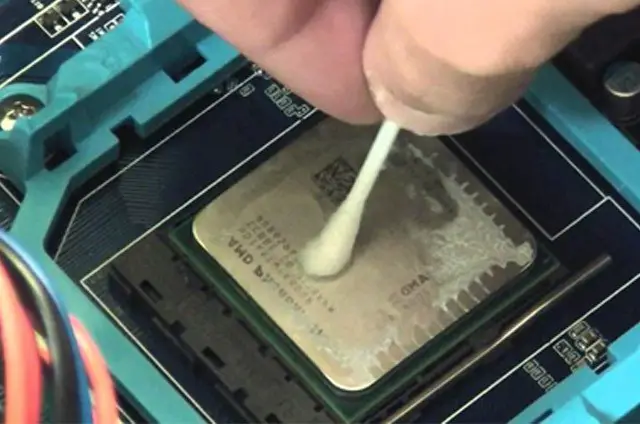
Take a microfiber cloth and wipe softly the unattached dust from the top of the CPU. Now, use a cotton swab also to clean the loosened chunks from the CPU.
With a blower machine just remove all floating dust from the CPU top.
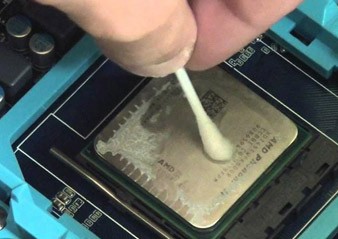
Step 5: Remove thermal paste from the CPU
Now the final step has come. After cleaning the CPU with all the dry processes, you will take alcohol mixed solutions or thermal cleaning liquid, apply it to the microfiber cloth, and wipe off the thermal paste from the CPU as much as you can very softly.
For the deep cleaning, you will take a cotton swab, apply alcohol on it and rub it on the CPU top to clean the detail and deep portion of the CPU.
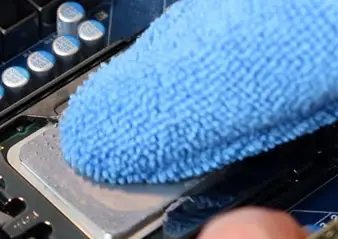
Again use the microfiber cloth to clean the CPT top to bottom. Carefully clean the very sensitive edge parts.
Repeat the cleaning process two or three times. Let the CPU dry for five minutes properly. This time may vary depending on the used solution on the CPU. Now it is ready to reapply new thermal paste.
Please do all these steps very gently and softly, otherwise, potential damage might occur. If you do not clean the old thermal paste perfectly, the new applied thermal paste will not work properly.
So, Cleaning or removing thermal paste perfectly from the CPU is so much important. You will feel it as difficult for the first time, but it will be so easy from the second time for you as well.
Conclusion
After following the full process hope you now know how to remove the thermal paste from the CPU. You can now remove the thermal paste from GPU and from many other processors.
The thermal paste removing process is the same for the CPU and the GPU. So with this method, you will know how to remove the thermal paste from GPU.
We have included the equipment below used to remove the thermal paste from CPU or GPU.
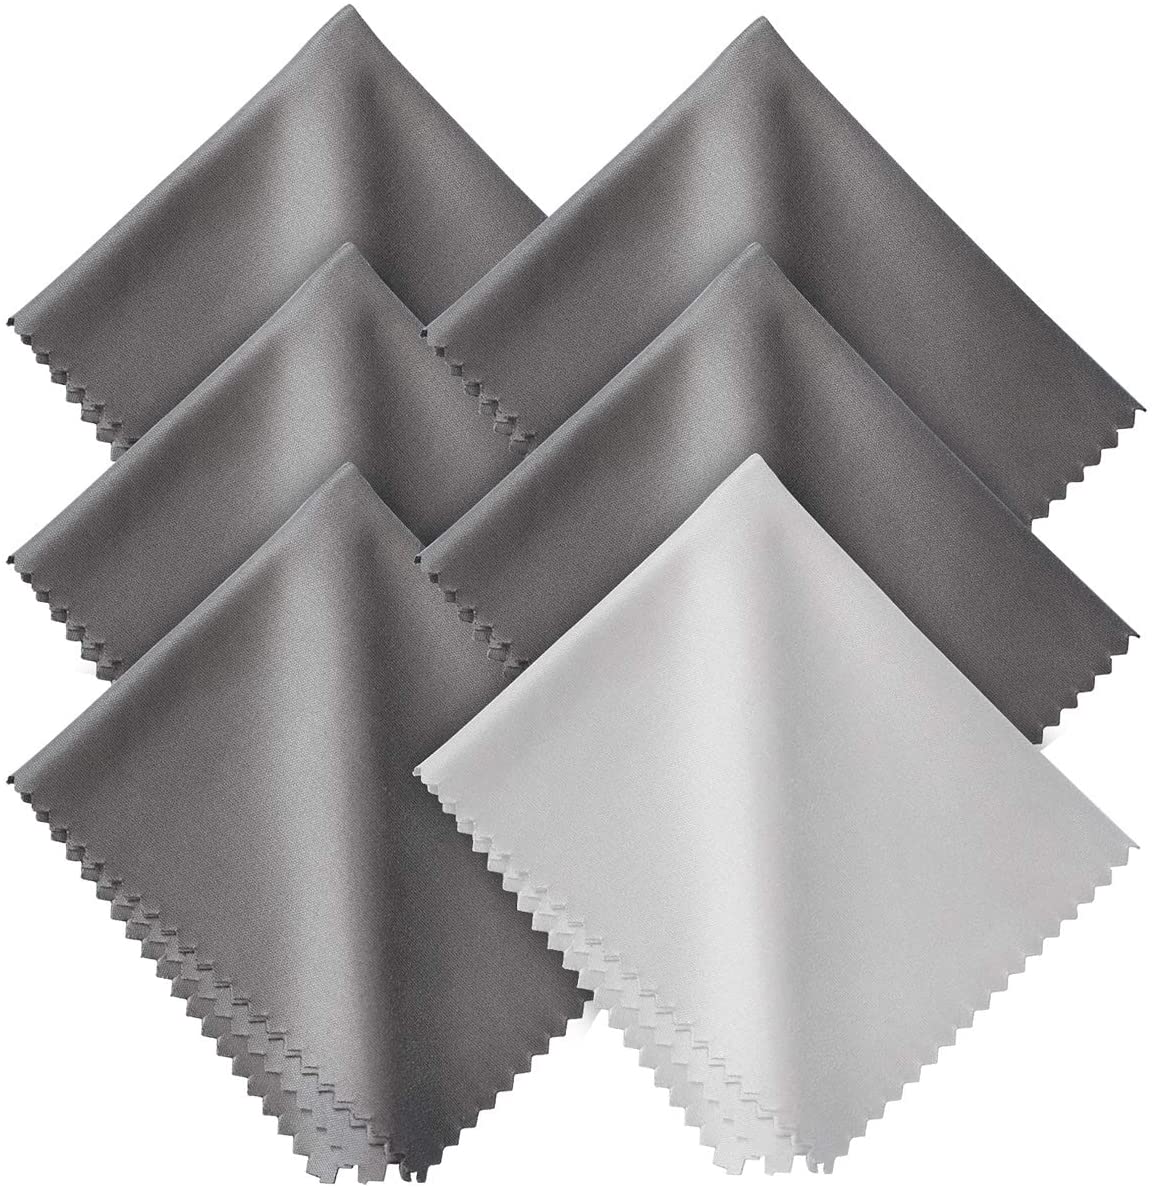
Xthel Microfiber Cleaning Cloths
SOME FEATURES
- 6-pack of ultra-soft cleaning cloths.
- Each cloth measures 6 x 7 inches
- Contain no harsh chemicals
- Machine washable and reusable
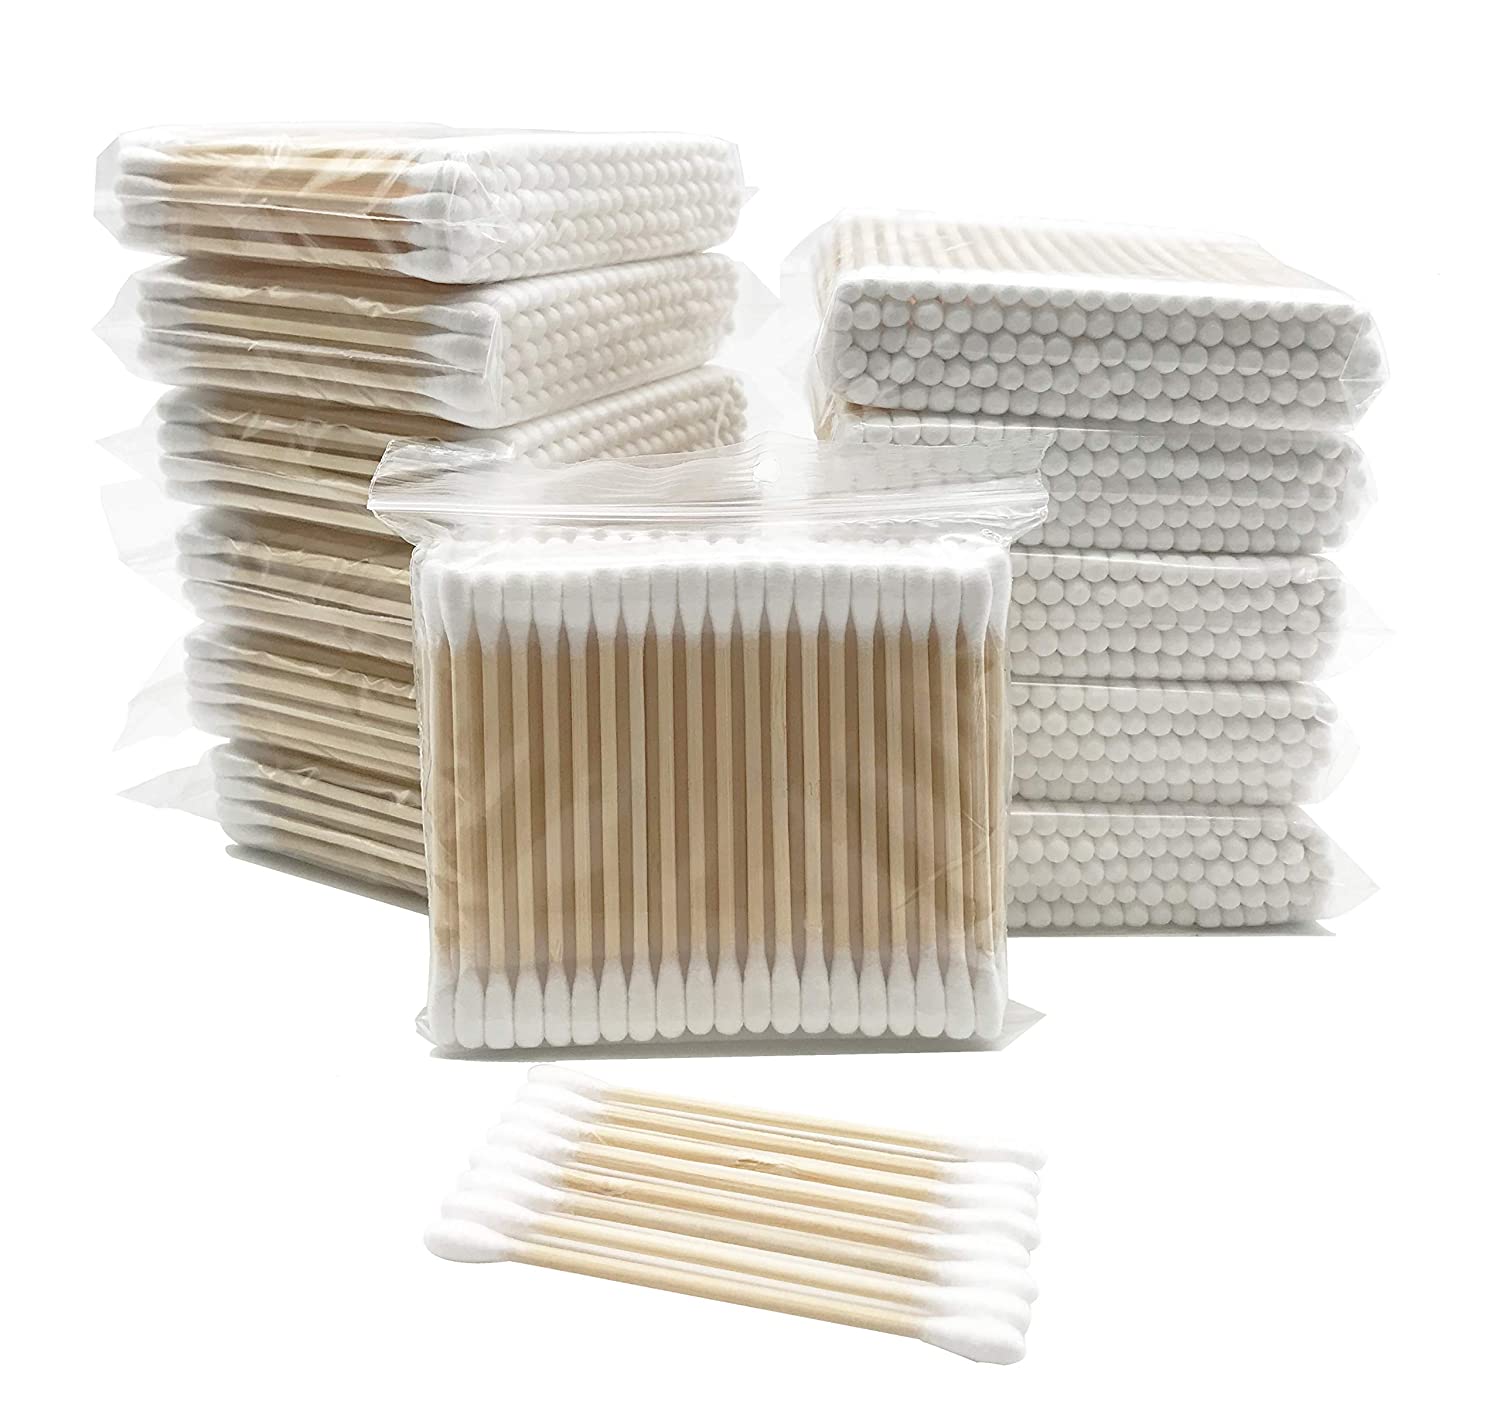
Biodegradable Cotton Buds 1200pcs
SOME FEATURES
- Overall length: 3″
- cotton-tipped and wood stick, 100% organic and top quality.
- Reusable packaging.
- 12 packs of 100pcs, 1200pcs in total.
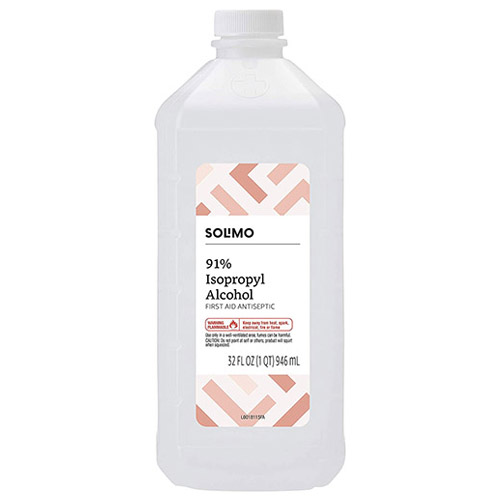
Amazon Isopropyl Alcohol
SOME FEATURES
- Active ingredient: 91% isopropyl alcohol.
- 32-fluid ounce bottle.
- Good for cleaning electronic devices.
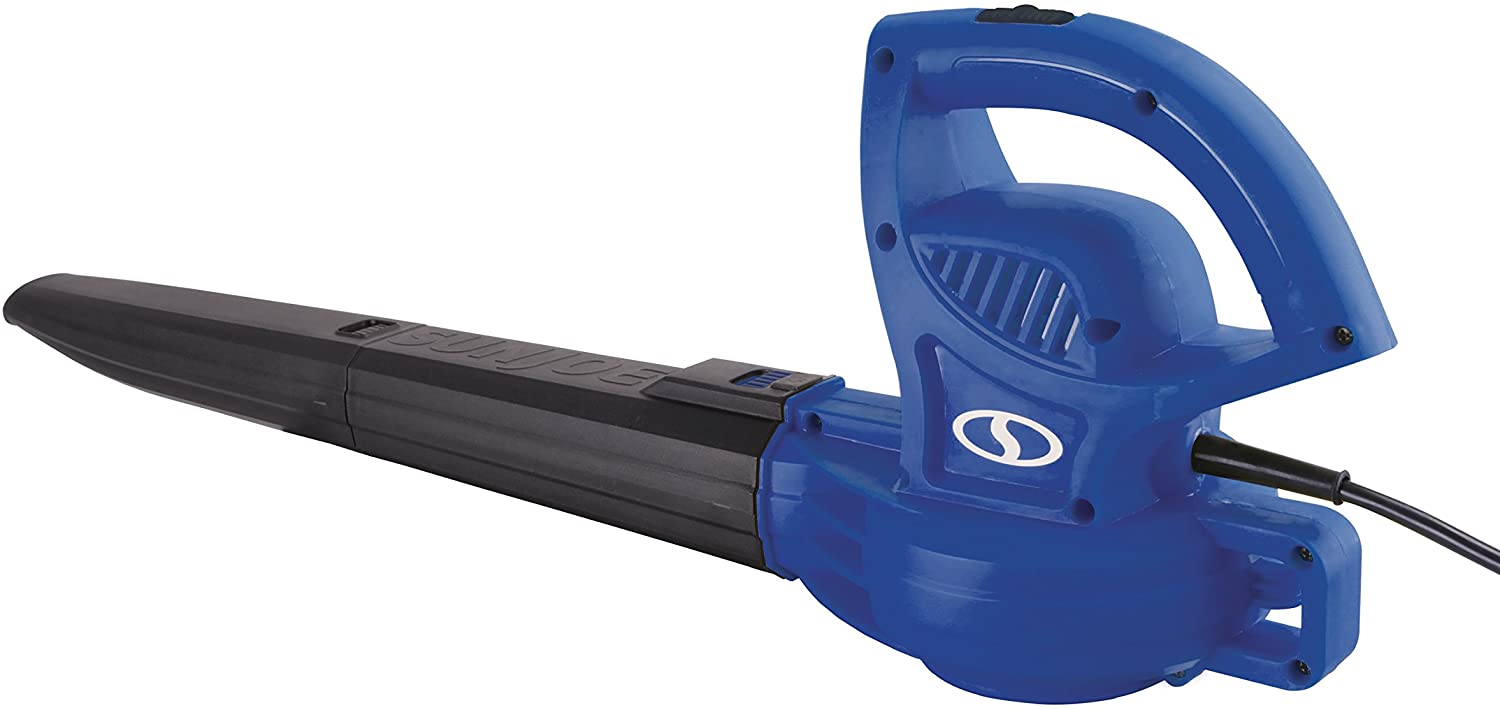
Sun Joe 155 MPH Electric Leaf Blower
SOME FEATURES
- 6-amp motor creates up to 155 mph airspeed.
- Only weighs 3.9 lbs.
- Maximum extension cord length (ft.):100.
- Clean sweeping patios, driveways, decks, and garages.